Zu Produktinformationen springen
1 von 5

roadnavier

L322 Android 10.25 - Auto

L322 Android 10.25 - Auto

Normaler Preis $549.00 USD
Normaler Preis Verkaufspreis $549.00 USD
Sale Ausverkauft
Versand wird beim Checkout berechnet
Storage
Jahr

Before you buy

Please confirm your vehicle year, original dashboard layout and factory audio system before ordering. If you are unsure, use the online chat button and send clear photos of your original screen and controls.

Read the full compatibility check →

Shipping & Delivery

Free shipping is available to most U.S. addresses.

A US$70 surcharge may apply to carrier-designated remote or extended-area addresses. We will contact you for approval before dispatch.

[Read full shipping policy →]

Warranty & Returns

One-year limited warranty for confirmed non-human-caused hardware faults.

We provide remote diagnosis first, then replacement parts, repair or replacement where appropriate.

Returns require prior approval. Unused and uninstalled products may be returned within 30 days of delivery. Installed or used products cannot be returned because of a change of mind.

Read full warranty & returns policy →

Für Land Range Rover Vogue V8 L322 2002 2003 2004 2005 2008 2009-2012 AUTO GPS Head Unit

Installation Guide

Installation Guide for Range Rover L322 (2002–2012) – 10.25″ Android Head Unit

  1. Preparation: Disconnect the negative terminal of the battery to prevent electrical damage or airbag errors.
  2. Remove Trim & Head Unit: Carefully remove the center trim and original head unit using trim removal tools. Save all screws and panels for reassembly.
  3. Accessory Setup: If you have accessories such as backup camera, GPS, or DAB, pre-install and test them before final mounting.
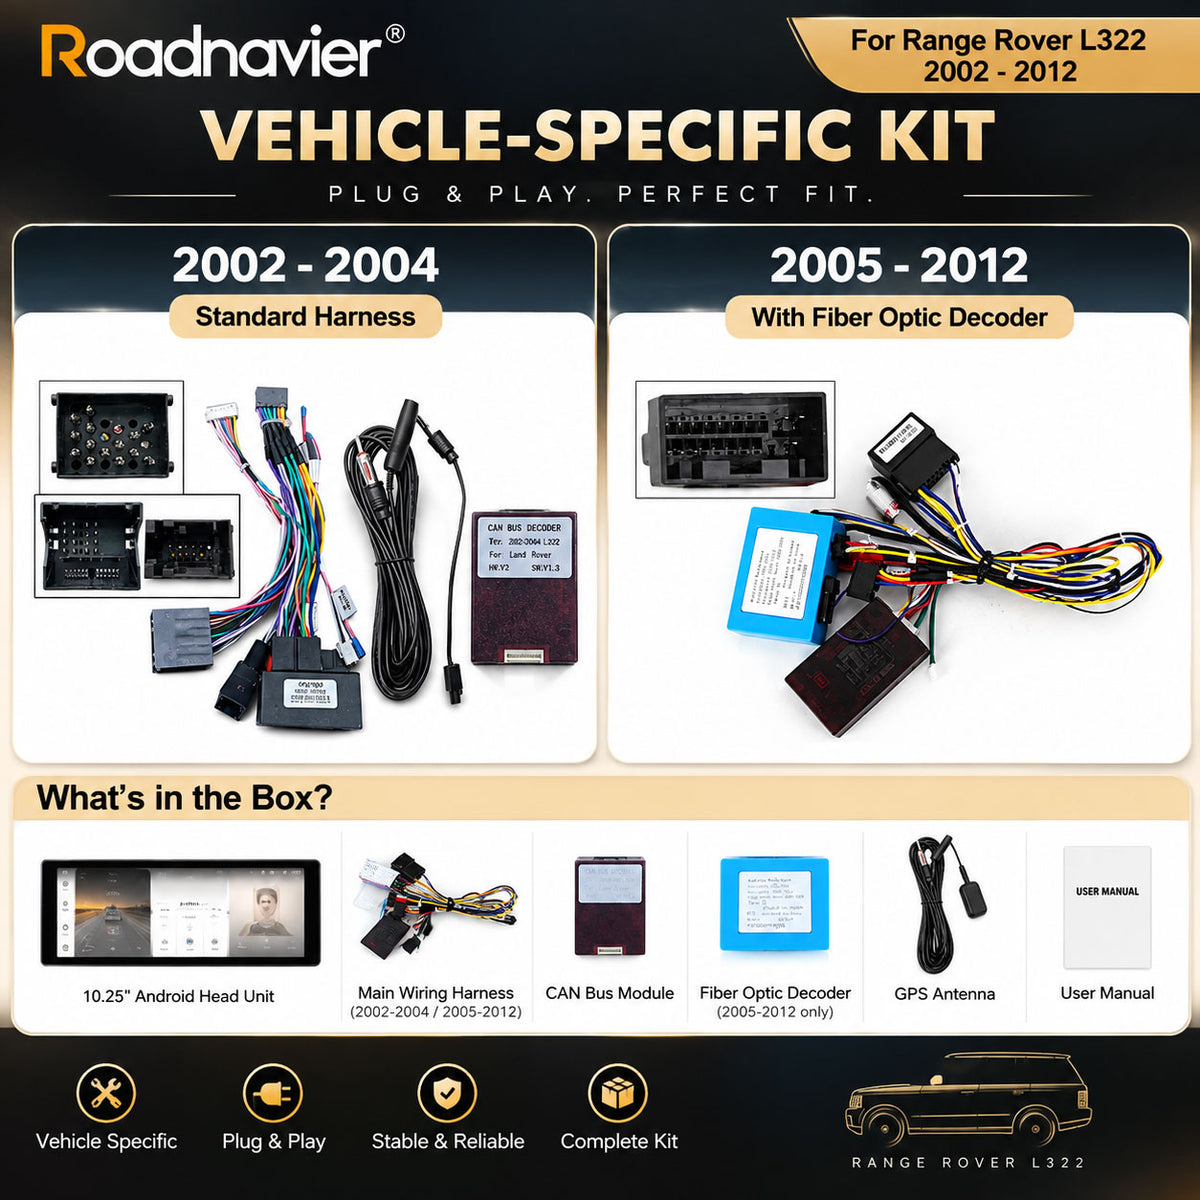
  4. Install Harness & CAN-Bus Box: Plug the provided harness into the original BMW-compatible connector. Mount the CAN-Bus decoder box securely behind the dash.
  5. Mount the New Head Unit: Slide the 10.25″ Android unit into place. Use two of the original mounting points to secure it firmly in the slot.
  6. Testing: Reconnect the battery and test—turn on the unit, verify CarPlay/Android Auto connectivity (wired/wireless), GPS functionality, touchscreen responsiveness, and audio output.
  7. Boot Sound Fix: If there’s no sound, install the I-Bus app (requires Resler USB stick) which activates the OEM DSP amplifier—this is critical for retaining sound through the car’s audio system. :contentReference[oaicite:3]{index=3}
  8. Final Assembly: Reassemble trim and panels. Run cables neatly, avoid pinching, and reattach all screws securely.

Quick Tips:

  • Use a trim pry tool to avoid scratching trim pieces.
  • Label and route extension wires using Tesa tape or zip ties for neatness.
  • On models with OEM DVD loaders, measure carefully—they may not be compatible.
  • Consider painting the unit fascia to match if aesthetics are a concern.
Vollständige Details anzeigen